I’ve been experimenting with Android development on my Windows 7 machine for a while now but have recently done a clean install of Windows 8 Pro. So I documented the simple process of installing the development tools mainly as an aid to memory.
From what I remember, the process seems to have been simplified.
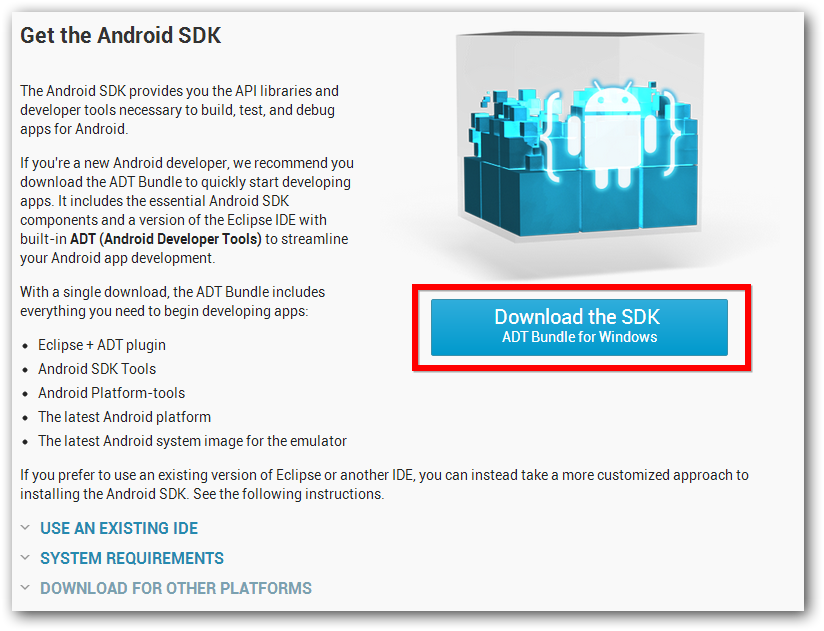
Step 1 – Download the SDK
Go to http://developer.android.com/sdk/index.html and get the tools and click the download link. I downloaded the 32 bit version of the SDK because I seem to remember having trouble with the 64 bit version in the past.
Step 2 – Unpack the zip file
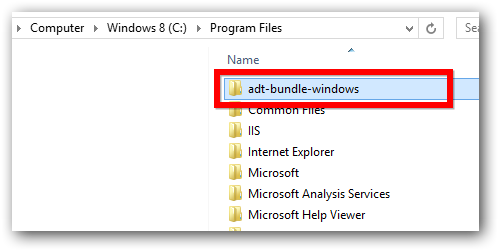
The SDK is downloaded as a zip file. I unpacked it to my Program Files directory but you can unpack it wherever you want.
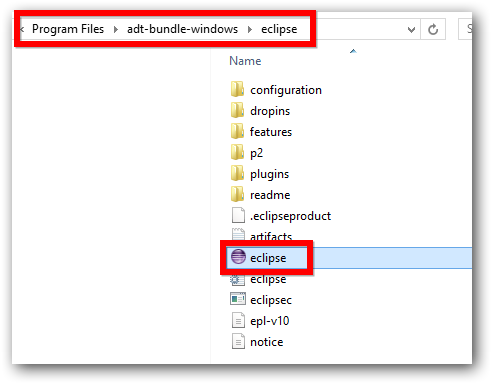
Step 3 – Run eclipse
Now you are ready to run eclipse.
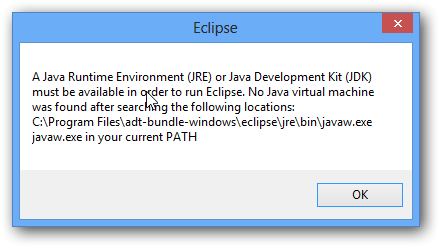
If like me you didn’t have Java installed, you will get the following error.
Step 4 – Install Java
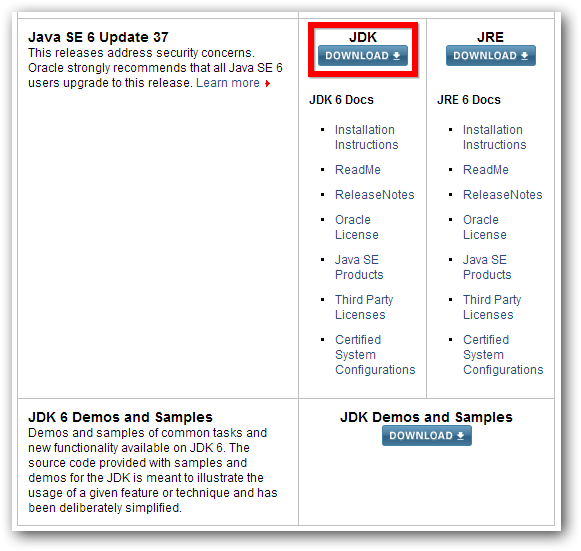
Go to the Oracle website and get the Java SDK. The Android SDK states Java version 6 as a requirement so that is the version I downloaded.
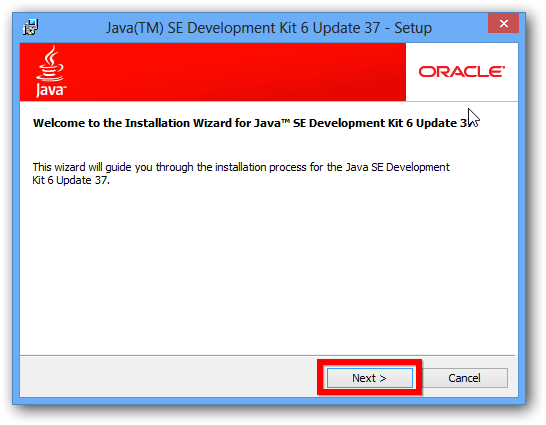
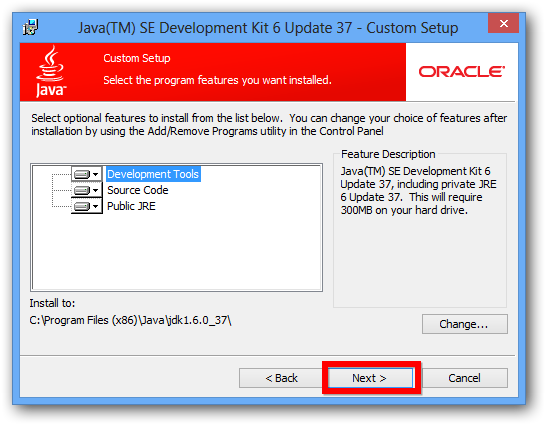
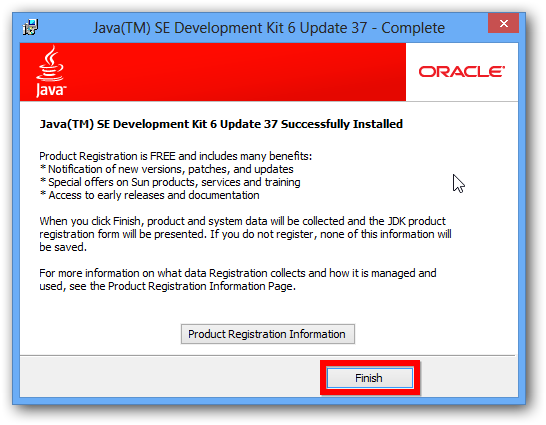
Once the download has finished, install Java:
etc etc ….
Step 5 – Run Eclipse Again
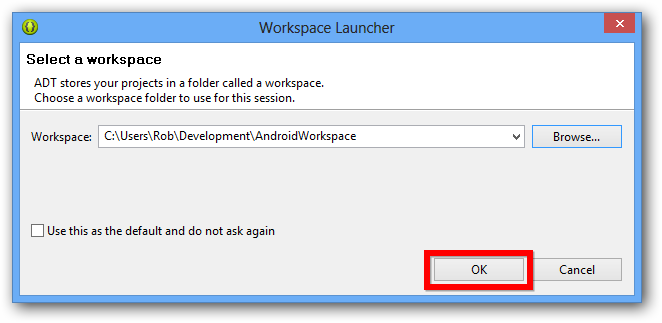
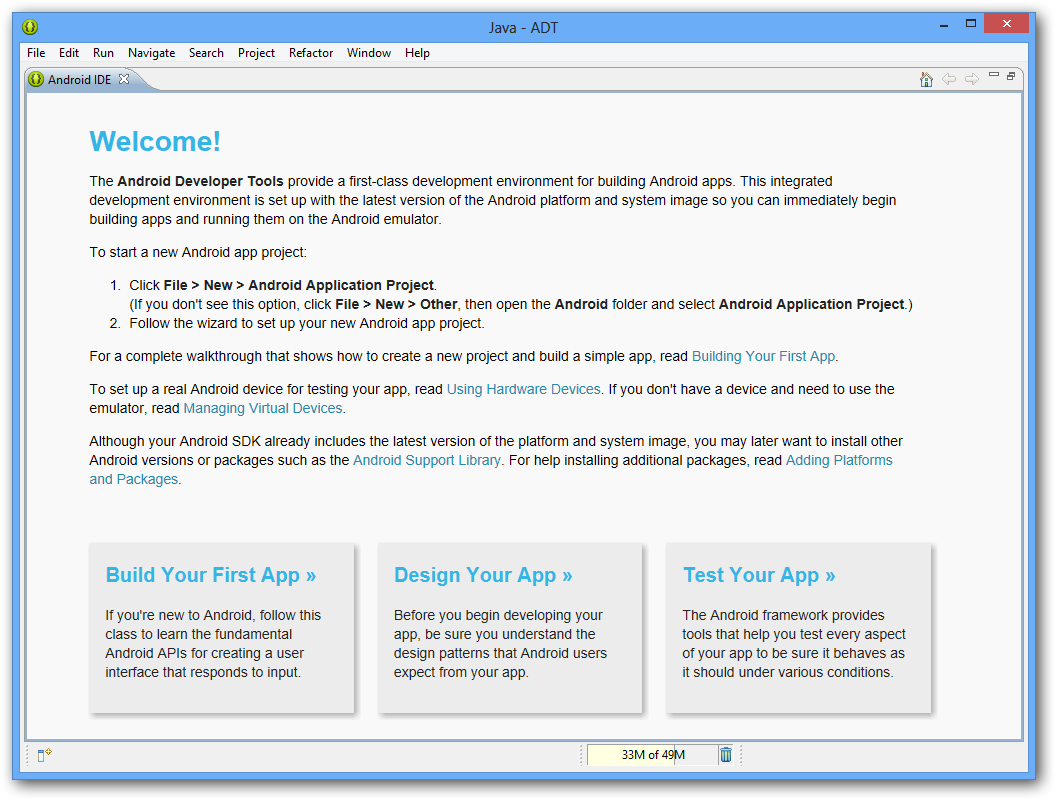
Run eclipse again. This time if everything works well you should see the select workspace screen followed by the welcome screen.

